The Quick way & the long way to overhaul your forks.!
Well the front forks need an upgrade as the oil has not been touched in years and I have no idea what springs are in there or anything With the newly fitted Ohlins at the rear it would be a complete waste if all it did was show up the front. So far my only fault with the front is that under emergency/heavy braking, the front feels remote, loose and detached, I think it is also lacking feel as I don’t seem to be able to sense much through the front just rely on the fact that it will stick anyway !!! Oh and it may also feel a little like a nodding donkey at slow speed on an uneven surface, like it is not able to track the bumps just ride over the top of them.
I contacted Maxton as they seem to have much respect in the industry, but there is also Ktech and Harris to consider as well. I went this route as although I was quite happy to dismantle the forks, fit new springs, oil and bushes, when it comes to what grade of oil & what springs, the air gap, and revalving the cartridge, plus the fact my compression adjusters had seized…this would be best left to those in the know…
Maxton supplied me with a spec sheet for my forks which I then promptly deleted(by accident)from my emails..It all sounded good, fork revalve, springs, oil, compression adjusters etc etc all in about £500…Yes £500.00 aaaggghhh I called Ktech for that money they would fit some of their swanky compression valves, I was swayed…
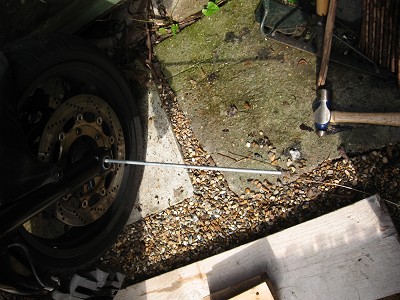
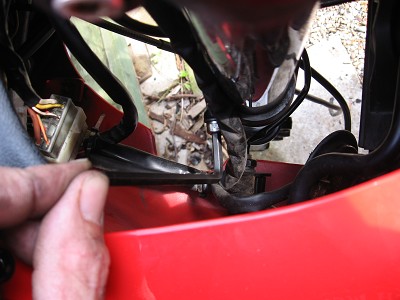
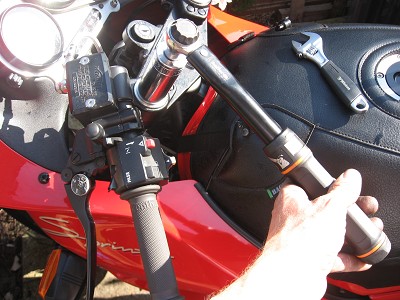
Removing the forks is pretty straight forward after loosening off the axle nut, axle clamp bolts, removing the brake calipers, speedo cable from the front wheel, raise the bike, remove the front wheel and mud guard…loosen the fork yoke pinch bolts top & bottom and loosen the upper fork shrouds that carry the headlight mounting brackets. I could drop the forks out with a little twisting motion.
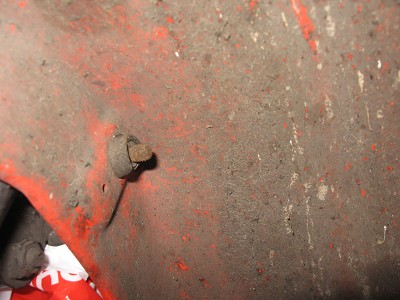
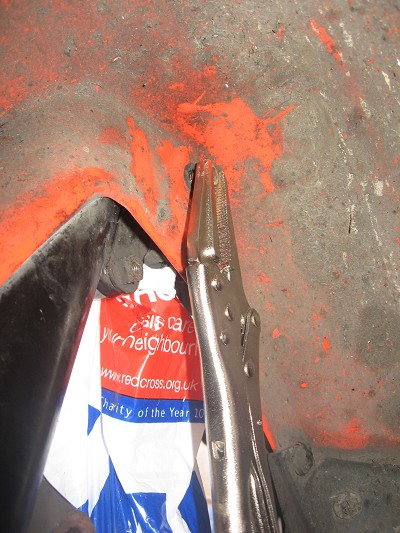
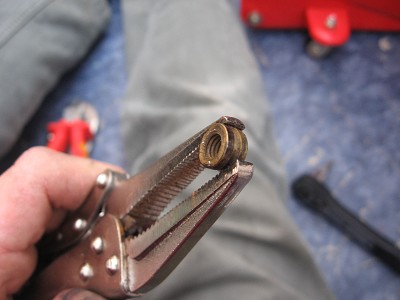
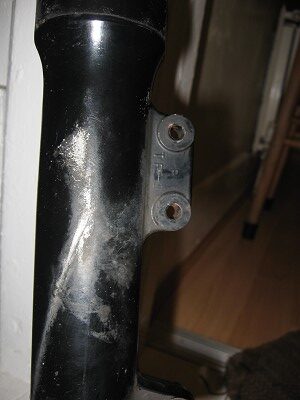
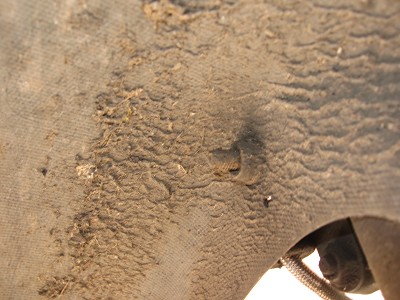
There was only one fly in the ointment and this was one set of bolts holding the mud guard to the forks. This was an M6 well nut a rubber shrouded flange type thing that is used to mount body work where it will have a protective rubber sleeve to prevent vibration and tension damaging it. Trying to undo this just had the bolt spinning but not unthreading itself. I had to cut the rubber off of the end of the well nut to expose the brass threaded collar, this allowed me to grip the nut end with some mole grips and thankfully they both then behaved and came apart. New well nuts have to be sourced to reassemble…
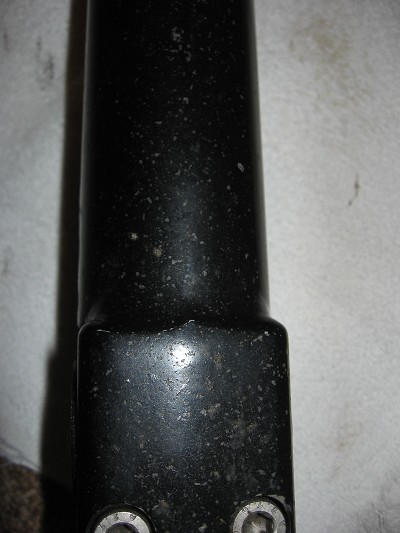
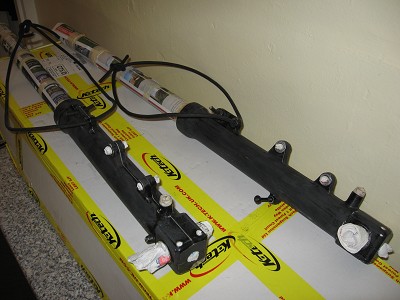
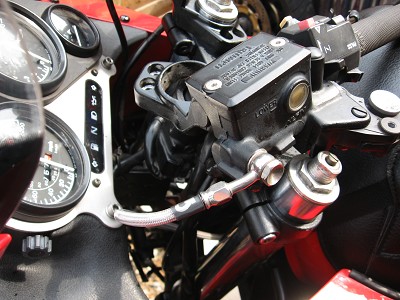
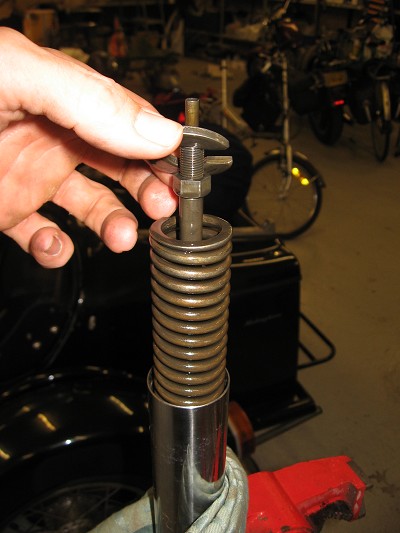
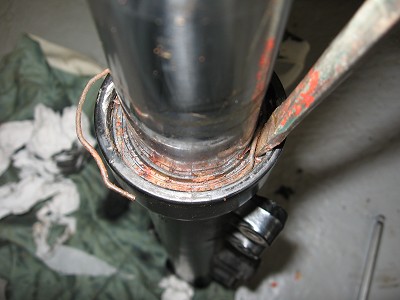
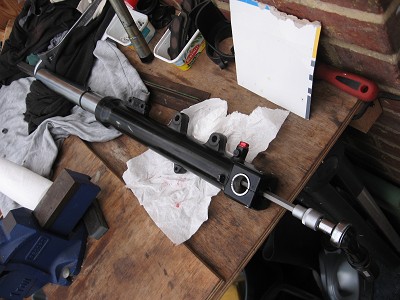
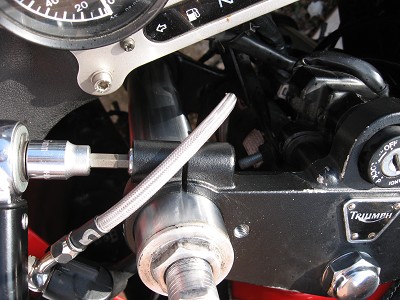
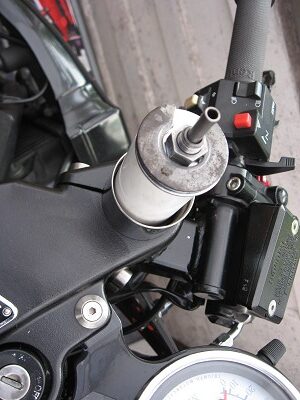
Any way forks are out and ready to be sent off so had a closer look at the offending compression adjusters. They are well and truly stuck, I could drill out the retaining pin & try and free them
etc. etc. but this time I’m going to pay some other toe-rag to sort it!! They will need tarting up upon their return as the miles have started to take their toll..
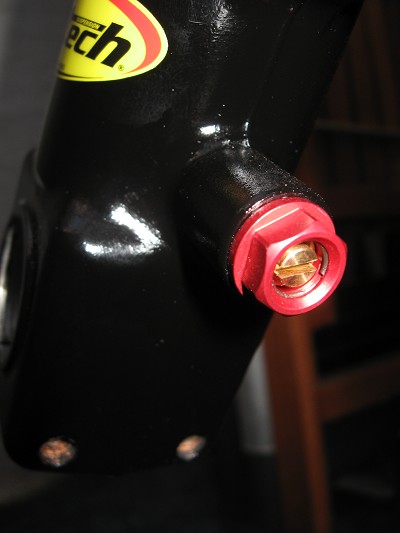
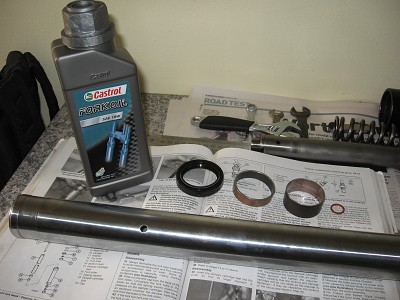
Well they are back, Ktech revalved the open Kayaba cartridge, stayed with the standard spring rate, replaced the oil with 5W weight (air gap 125mm) fitted new fork seals and replaced the compression adjusters with some that have a wider and finer adjustment to them, cost me £230.00..which is better.
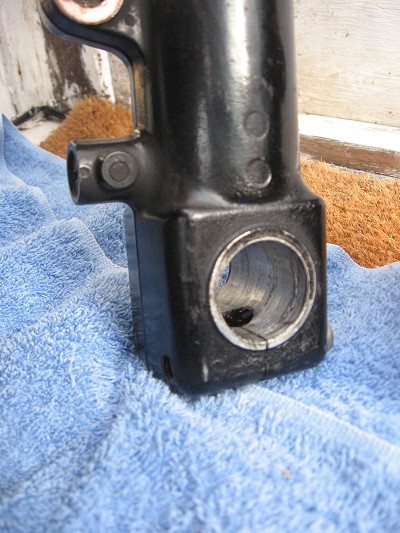
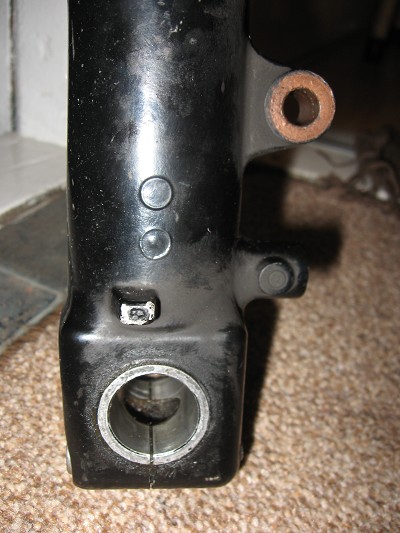
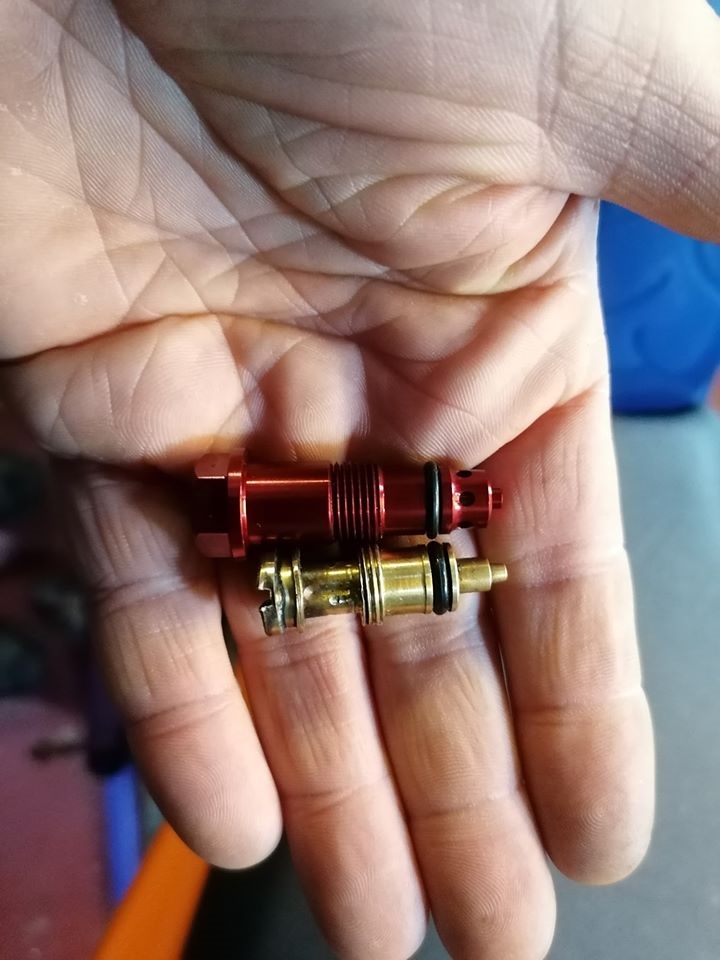
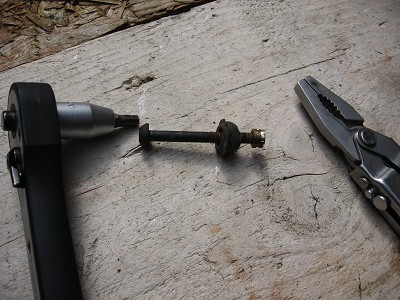
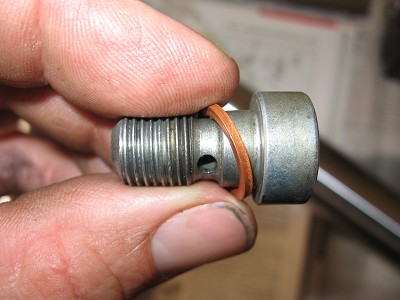
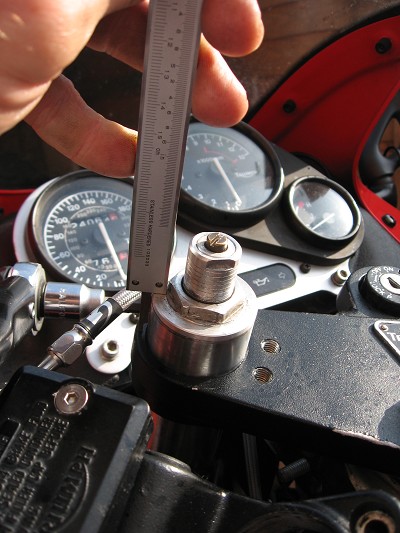
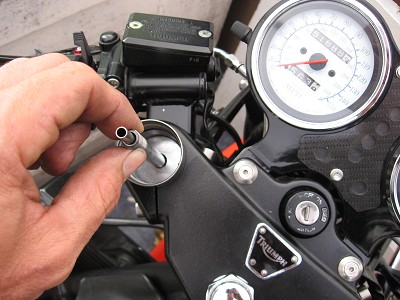
Just for anyone wanting to attack their own seized compression adjusters, you’ll need to drill out the locating pin as pictured above and remove them from the forks, thread in the new adjusters and fill the hole where the locating pin was with chemical metal, pic of the old adjuster
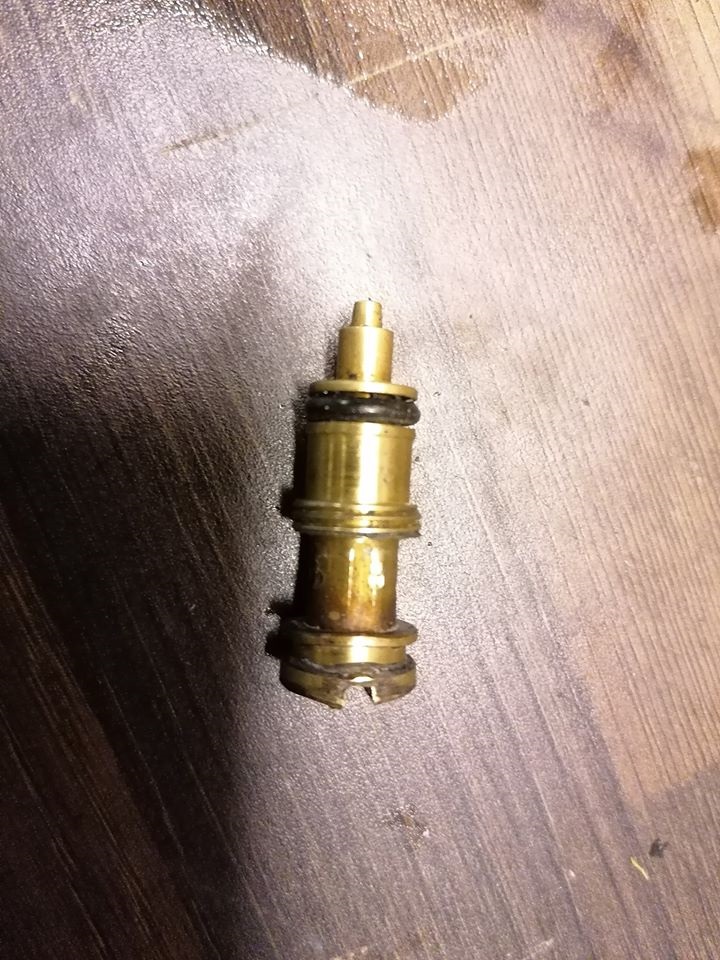
New and old
a link to order from
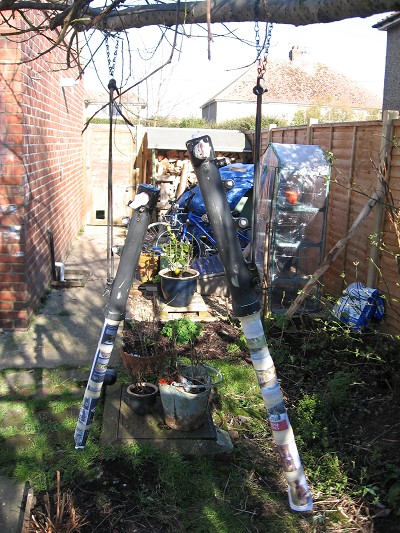
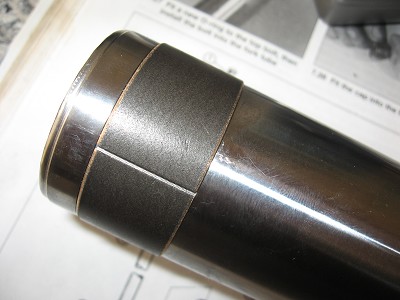
I gave them a rub down and repaint..

I’ve dropped the forks a full 10mm through the yokes to see how it goes, this is 5mm more than I had done previously. The forks have been set up for my weight (12.5-13 stone ish) and the recommended starting point for the adjusters is 25-30mm static sag with out rider, 9 clicks out of Compression & 12 clicks out of rebound, I’ll have to see how this goes, no doubt there will be changes.
OVERHAUL FOR THE SPRINT SPORT FORKS….
Now these forks weren’t going to get the professional going over of the Speed Triples but still needed quite a bit of work in the end !!! I could feel and see some play in the sliders, which was a little worrying and also gave the front end a bit of a shopping trolley feel. One thing is for sure it wasn’t going to get through the MOT..
The only special tools I used for this was a 27mm socket, Torque wrench, vice, impact driver, home made seal driver, metal ruler & a dremel.
Parts for my rebuild were new seals, the dust seals unless cracked and brittle are ok to reuse (good job too as they ain’t cheap !) I had the top and bottom bushes too A. to help reduce the play I had B. It’s also recommended by a lot of people that have been there before to replace the bushes even if you only need new seals as worn bushes will blow seals in short order..Fork oil 2 bottles will cover it (1ltr) I used 10W but may drop that to 5W on the next change as maybe the forks aren’t as compliant as I would like…we will see ??. Two new copper washers for the damper cartridge bolts…As it turned out I also needed new fork legs too (cue crying and credit card abuse !!!)
First up was to get the forks off the bike so up with the bike on the ABBA Stand and car jack to get the front wheel off, calipers off first held out of the way with bungies, then loosen the axle nut and spindle clamp bolts, then off with the speedo cable, the spindle on mine needed a little assistance with a bar and mallet to slide out, a sure sign of lack of maintenance.
Mud guard off having to destroy one of the well nuts as per usual in the process..
I had to remove the handle bars off the Sprint as they restricted the movement of the fork legs through the clamps, before loosening the fork clamps I cracked the top nut on the fork legs and wound the preload adjusters out all the way to relieve pressure on the springs making it easier to dismantle, loosen the fork clamp bolts and dropped the forks out..
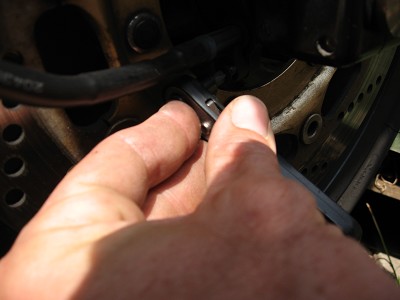
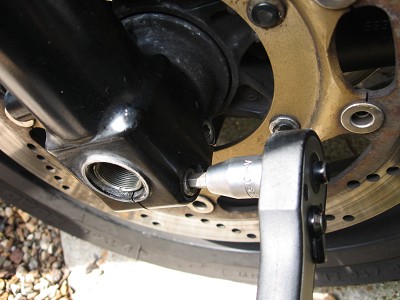
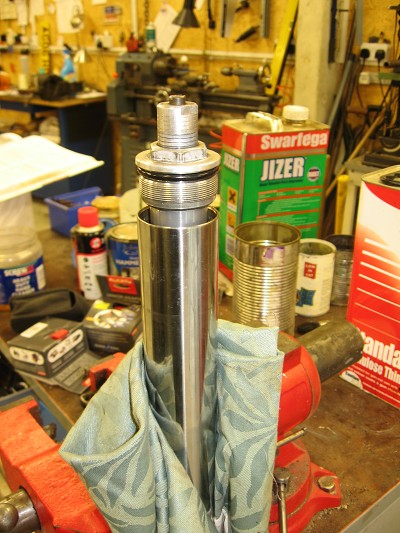
Now I could get down to business, care is needed to keep the parts for each fork together, possibly the hardest part of getting the forks apart is the damper rod/cartridge retaining bolt in the base of the slider, a couple of plastic caps cover the access holes & help keep road grime off the axle ..The impact wrench makes very light work of this…once loosened a bit I got the fork leg into a vice & keeping a pot under it to catch any dripping oil wound out the top fork leg cap bolt keeping a slight downward pressure on the thing as it is still under a bit of pressure form the spring below..
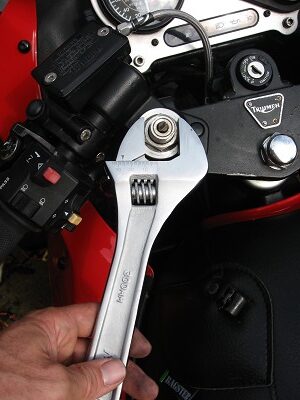
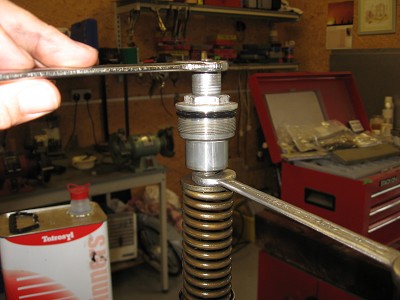
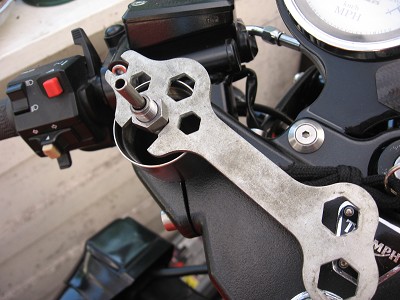
To remove the preload/rebound & top cap push the fork leg down into the slider and press the top of the spring down to reveal the retaining nut, place a spanner on this then one on the preload adjuster and loosen them, you can then wind the cap assembly off..
Then remove the spring seat retaining nut and spring…
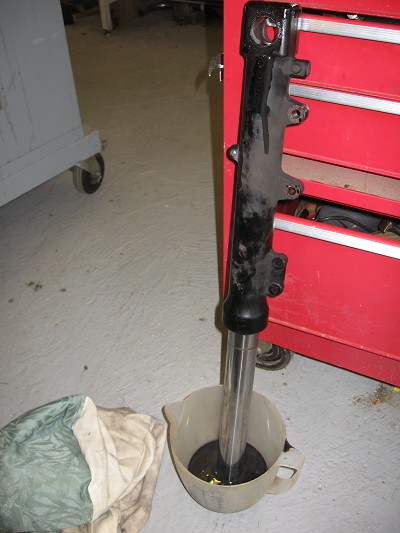
By turning the fork leg upside down over a pot you can now pump out all the old oil, this stuff stinks and it is a messy thing to do, pump the fork leg up and down to help get as much out as you can..
Next remove the Damper cartridge rod retaining bolt from the bottom of the slider and lift out the damper cartridge from inside the fork leg, more old oil will drip and splash so beware.
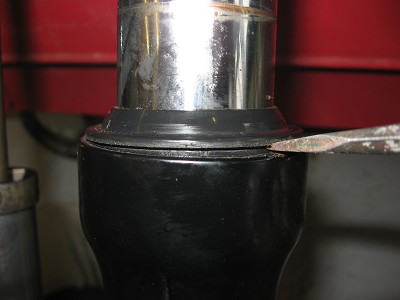
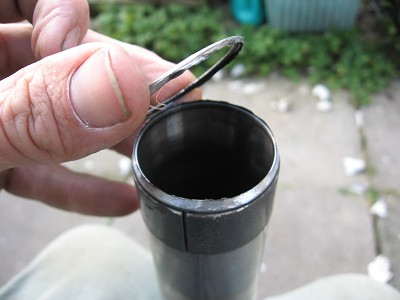
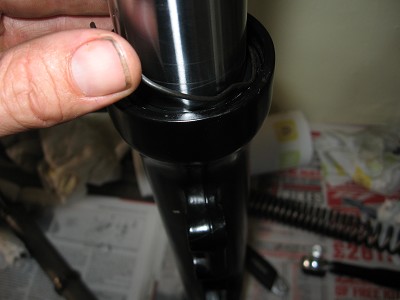
Pries off the fork leg dust seal with a flat bladed screw driver (you may need the flat edge of a knife to get it to start to lift)
Remove the retaining circlip under that and the washer under that..
You are now ready to dislodge the oil seal and top bush, this is done by holding the fork slider and fork leg and sharply pulling them apart, the bottom bush in the fork slider butts up against the top bush and oil seal and will knock the free, it may take several attempts.
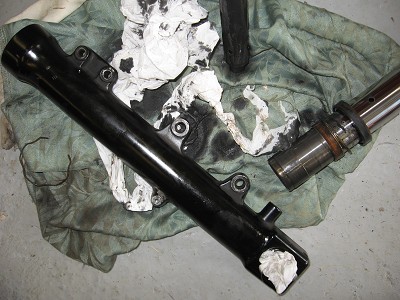
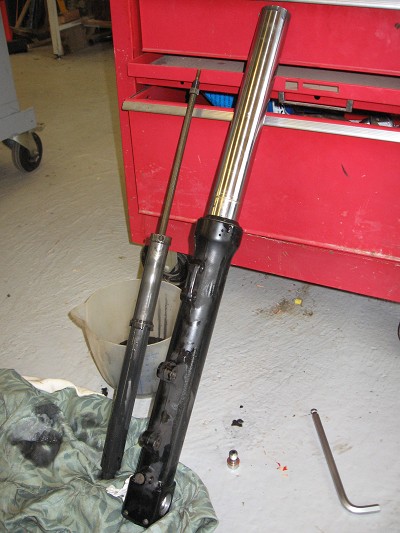
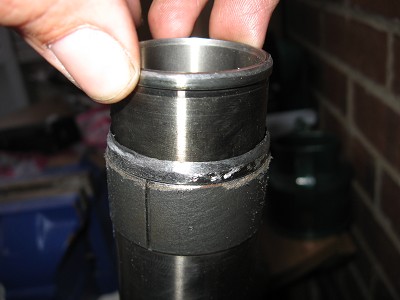
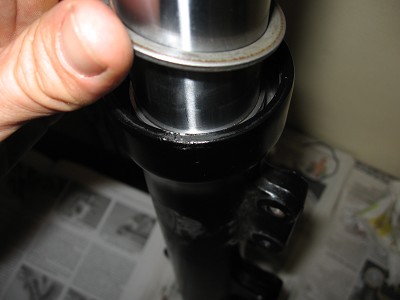
This is where I ran into a few added problems as some ham fisted fellow had been there before me and badly marked the fork leg probably by trying to use a screw driver to remove the oil seal..? they then realized the damage they had done and tried to bodge it all back together with some silicone sealant on the inside edge of the now bent oil seal !!!
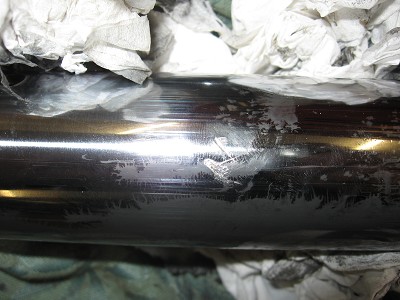

After some fruitless searching on ebay I resigned myself to buying some new fork legs to repair the problem, after all the damaged leg would only ever leak oil new seals or not..
The legs I got from All Bike Engineering (ABE). I didn’t realize but the new legs needed parts removing from the old legs and the way to do this was to grind the lip off the bottom of the old legs with a Dremel remove the “shuttle valve” I think it’s called, reinstall it into the bottom of the new leg and hammer over the retaining lip on the new fork leg….I will add at this point that you can buy new legs with the parts already fitted, the difference is cost, legs without per pair £160.00 inc vat & delivery, legs with £240.00 per pair inc vat & delivery.
Three parts make it up like so..
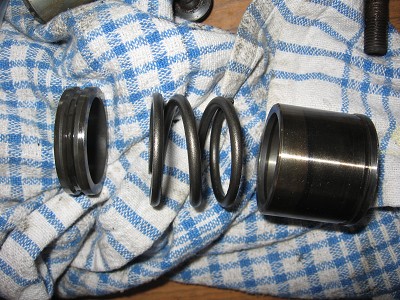
Drop them in the right order into the bottom of the new leg and secure it all with a large hammer !!

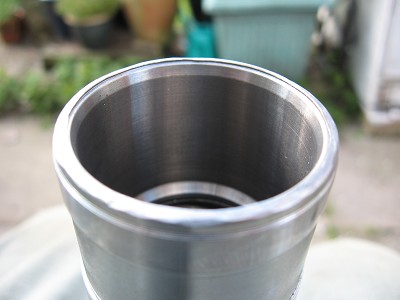
Making sure in the process that everything was cleaned and no metal filings were left I could set about reassembly of the forks, the new bottom bush can be eased apart as it is split and seated into its recess..
Insert the damper cartridge into the slider and put the retaining bolt with a new sealing washer into the base of the slider, you’ll tighten this fully a bit later.
Oil the fork leg and bottom bush with some fresh fork oil and slide the leg into the slider. You are now ready to fit the top bush & fork seal. Oil the top bush and slide it down over the fork leg, then slide the large washer over the top of that. You will need a drift of some sort to drive the seal home, I used a narrow plastic connector for guttering with a 50mm inside diameter, it needed to be cut down one edge to reduce the diameter a fraction, I then taped it up, slid it over the fork tube and used a mallet to drive the top bush home squarely.
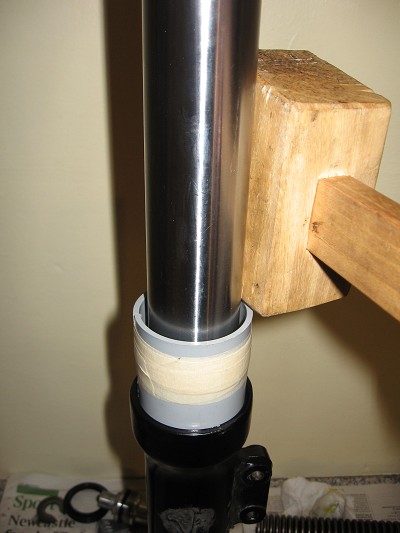
Oil the seal slide that over the top of the fork leg and use your drift to drive that home too, it should seat so that the retaining spring grove is visible evenly all the way around, fit the spring. Pop the dust seal on too.
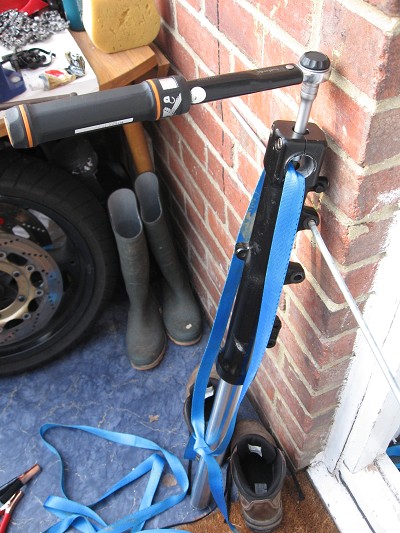
Insert the Spring, tight wound coils to the top, and reinstall the spring seat and top nut assembly no need to tighten everything up, this is all so you can tighten the damper cartridge bolt to the correct torque for the next stage of filling the fork leg with oil. Now one fork leg gave me no problems here I just turned the fork leg upside down gave a little downward pressure and was able to tighten the bolt up no worries…the other however needed a bit more force..! I ended up making a foot loop from a tie down strap and sort of pogoing with my full weight in order to get enough downward pressure on the damper cartridge via the spring in order to get the bolt to tighten properly !!!!
Since another fork strip on the Speed Triple I’ve since leant that you can use an impact wrench to do the nuts back up, but that wouldn’t allow you to torque it correctly so I needed a damper rod holding tool really…luckily with the adjustable Kayaba’s all that is needed is a bit of 20mm square bar (available from ebay ;-))filed down the end a bit and it slides down the leg and fits a treat onto the damper cartridge..
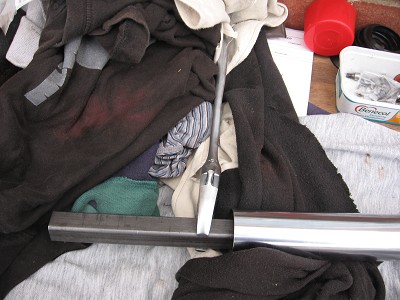
It should be 40Nm
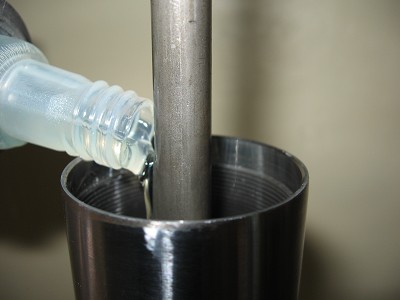
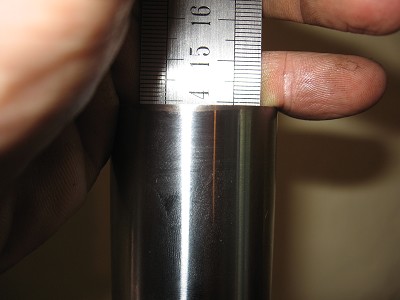
Remove the top nut and spring seat & spring, compress the fork leg as far as you can into the slider have available a metal ruler and pour the oil in slowly until you reach the required level 139mm for the Sprint Sport…looking at Haynes it looks like nearly every model is different ?? I gently pumped the damper rod up and down to help any air to escape and gave the fork leg a couple of light taps on the work surface too, just to be sure.
All I had to do was the final reassembly now keeping the damper rod extended I popped the spring back in (tight wound coils to the top)placed the spring seat in and wound the top nut so that there is 11mm of thread showing above it..
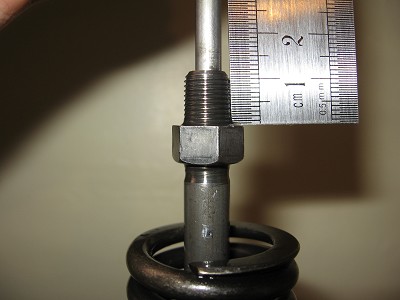
Then you can screw the top bolt onto the damper rod and nip the two up being careful not to mess up the 11mm gap…

Now I can wind in the top bolt to the fork leg..

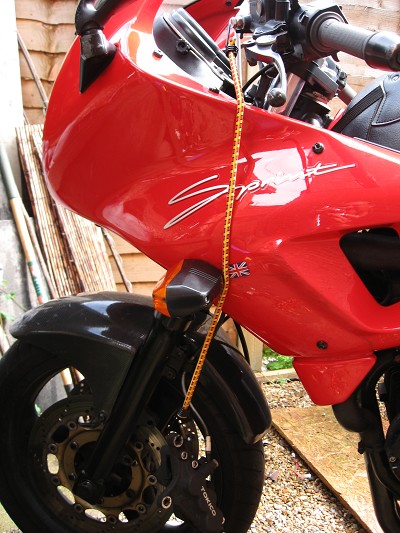
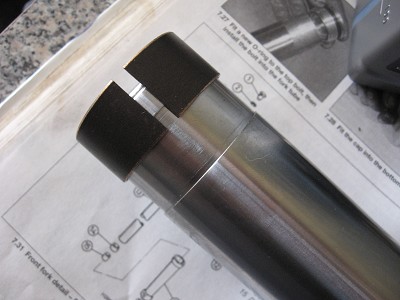
The forks could now go back in the bike I could nip the clamps up to torque the top nut down to 23Nm, I set the distance the forks to 28mm, a little more than stock to speed up the steering a little..torqued the clamp bolts to 20Nm..
I’m pleased to say the MOT was no problem, no clonking from the front, better braking and feel, it’s a job I would not hesitate to do again.
Bit of an update with the Speed Triple forks…I just had them apart again to change the oil and add some linear rate fork springs, I found the online calculator at Racetec handy for this (I’ll put a link in the links page). I seemed to have chosen a bad time to order mine as they weren’t in stock but after a bit of detective work I found that CBR600 99-00, ZRX1100, TT600, Sprint RS, FZR1000 89-90…which was handy so I got some Ktec 0.95 rate springs off ebay for a CBR delivered pronto..result.
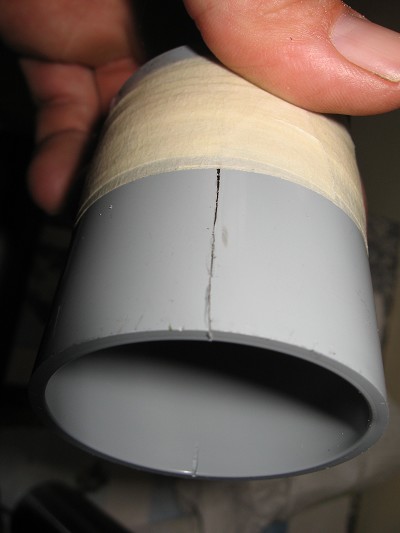
Linear rate springs come up shorter than stock progressives so spacers have to fitted to make up the difference, I used Plumbers waste pipe 36mm PVC abs stuff for a couple of quid, I soon learn’t that the linear rate springs don’t need anywhere near the same amount of compression (preload) as stock progressives as I had to adjust the spacers shorter three times to get the static sag right, the springs were 336mm long and I ended up with 63mm spacers and the preload spacers all the way out. I used some 37mm OD 11mm ID repair washers to seat the springs on and stuck to the original Ktec oil weight and air gap..
Fork tops off after I had raised the front end off the ground.

Spacers fitted onto seating washers
Watch the damper rod doesn’t sink into the fork leg whilst your back is turned as it a pig to fish back out again…as me how I know !!!
End result is less dive on the brakes and it feels better suspended…suspension once you start it’s difficult to stop !!!