Possible the easiest and most important maintenance you can do, save money do, it right and do it yourself 😉
Ok before we start it’s a good idea if you have other work on the horizon to consider changing the oil in conjunction with it. The front Sprocket cover/dip stick is oil carrying and needs to be removed for work such as….
Changing chain and sprockets
Replacing any leaking seals such as clutch push rod or gear change output etc
What oil ? Ha what a question…I will ignore the hotly contested topic of brands etc Ideally motorcycle specific, grade 10-40 semi synthetic although Daytona Super III and Daytona 1200 models can take full synthetic 5-40. The 900 Triple such as our beloved MK1 Speed Triple will take bang on 4ltrs of oil when also changing the oil filter.
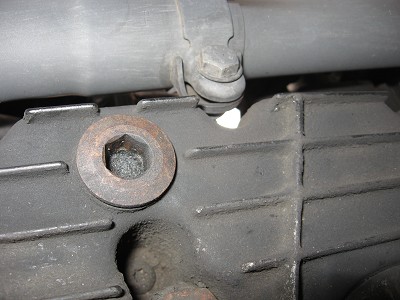
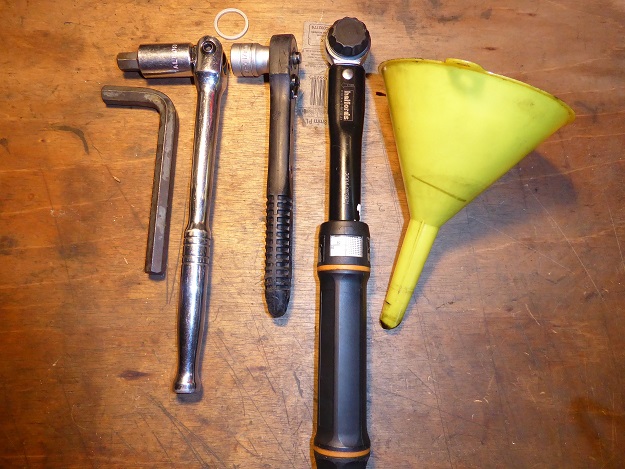
The sump nut to drain the oil is a 22mm requiring a 12mm allen key, odd ball size, there is a couple of 12mm allen keys in the original tool kit for this and chain adjustment best to buy a 12mm allen socket which will allow you to torque the sump nut up correctly after
12mm allen key/socket
17mm socket
Torque wrench: torque settings are 18Nm oil filter bolt, 48Nm oil filter drain bolt
4ltr oil
oil filter
new sump nut washer
Funnel
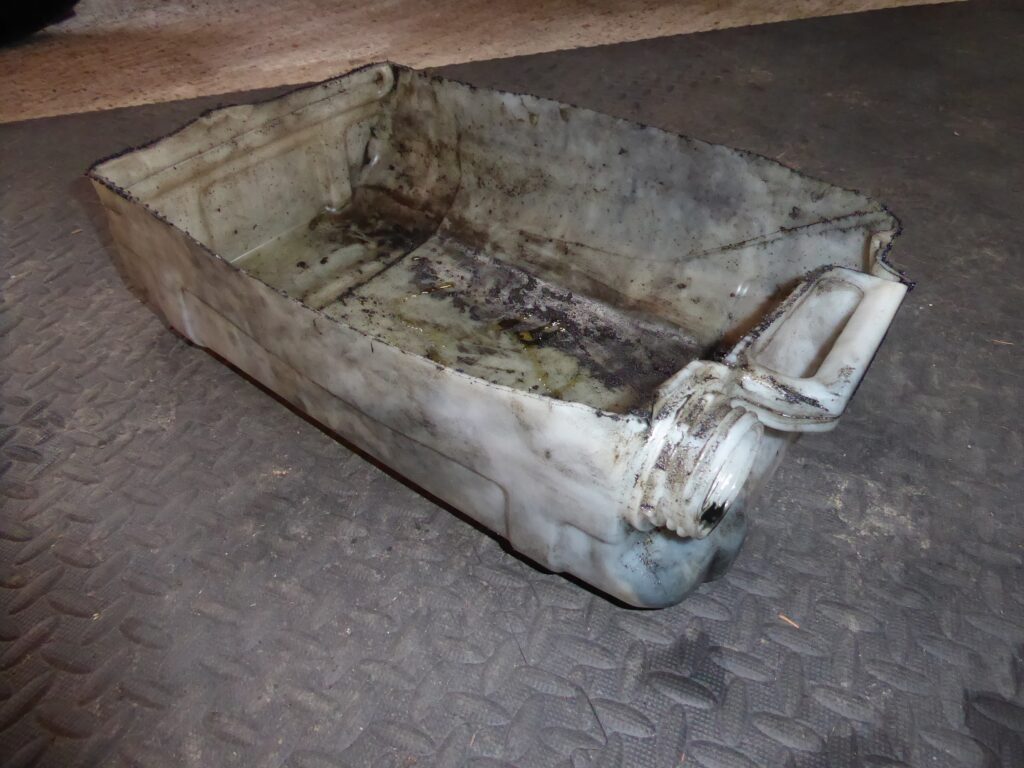
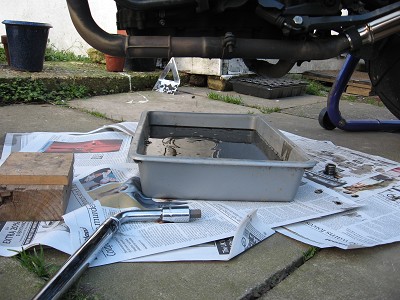
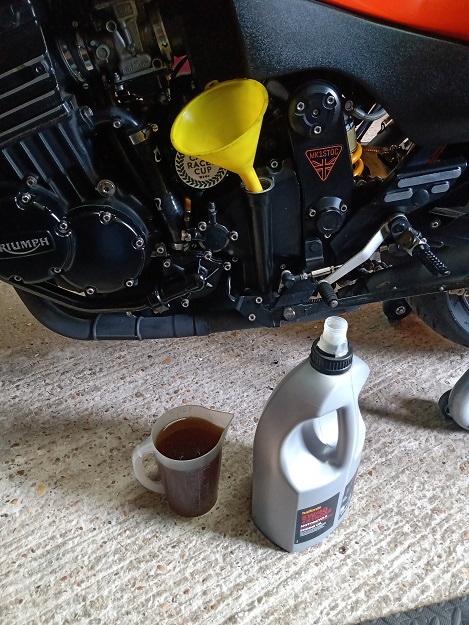
catch can/tray ( I cut in half an old 25ltr plastic bottle, it gives you a spout and a handle) pic below 😉
rag or paper roll
First job warm the engine…ideally time it all after you have been for a ride as this will make the oil thinner/runnier and you’ll drain more oil and crud this way than if it was cold and thick. Get the bike onto it’s ctr stand if fitted or your chosen paddock stand and flip the side stand up to get good access, undo the dip stick but don’t remove, this will just help the oil drain faster by letting air in as the oil goes out.
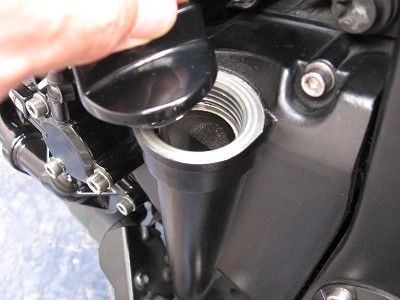
Undo the sump nut, once you have loosened it wind it out with your fingers so you can keep slight upward pressure, as you come close to the last few threads, the plan is to control the last second removal of the sump plug. If goes to plan you’ll be able to whip the pug away between your oily fingers and watch as a gush of oil hits your collection pan, if doesn’t go to plan you’ll drop the plug into 4ltr of oil and have to fish it out later !!
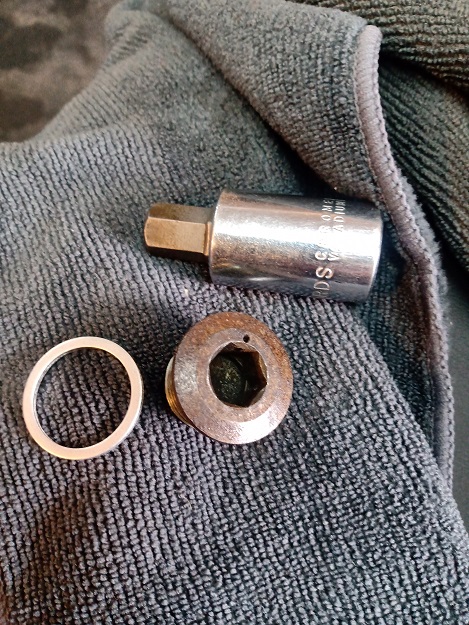
Clean up the sump nut and put aside with a new crush washer whilst the oil is draining. Next undo the oil filter bolt (17mm), loosen and spin the plate a few turns to allow the oil to drain out of the filter and into your tray/catch can.
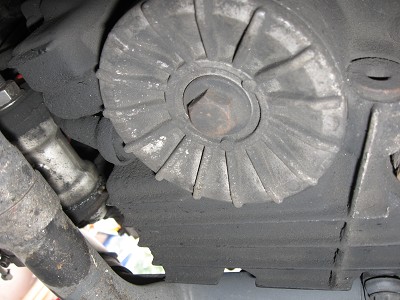
When the worst of this has drained off you can spin the oil filter housing all the off ready to ditch the old oil filter clean it all up, fit new O rings if required (quiet often I reuse and they are fine). Note that there are two penny washers top and bottom of the oil filter they can easily be missed when covered in oil and stick to the oil filter, meaning you ditch the filter with the washers !
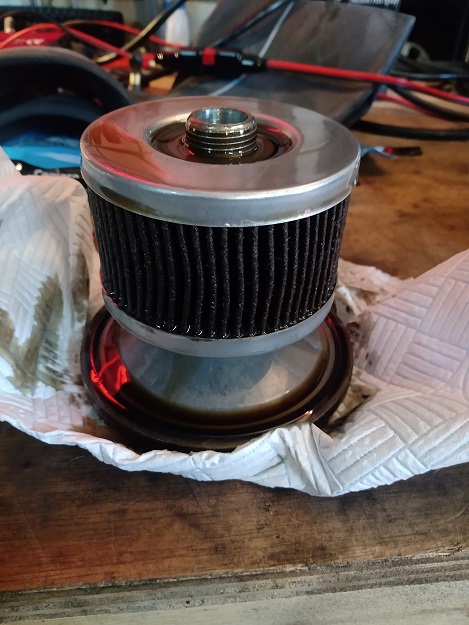
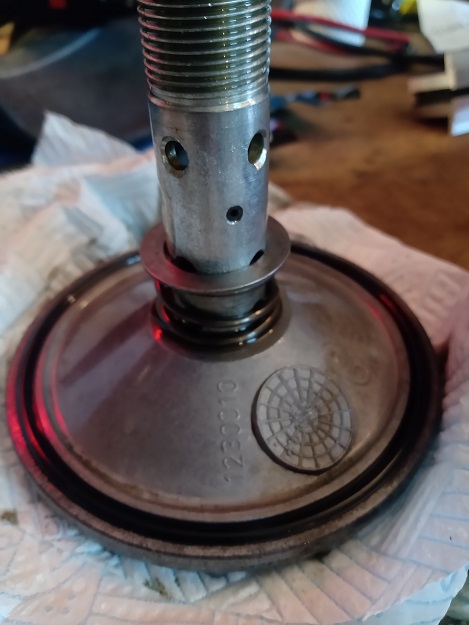
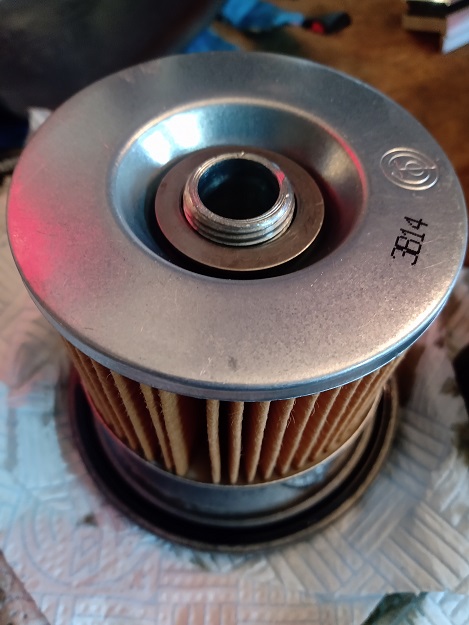
You can see the large O ring on the bottom plate, plus there is a smaller O ring behind the head of the bolt as it passes through the base plate. You can see the under and over penny washers too.
Once you are happy all the oil is drained and everything is clean ready to reassemble tighten the oil filter housing back up (18Nm). Note how low that torque setting is, it may be a big bolt but it only needs to crush the O ring and make a seal ! Sump nut is 48Nm.
After many many oil changes I know for a fact the if the filter is being changed as well it will take 4ltr of oil to get to the top mark. No need to carry on checking the level, just use a measuring jug and splosh it in.
For future oil level checks keep both wheels on level ground, with the bike upright and the dipstick wound fully in. This is as per the owners manual 😉 So not on a paddock stand and not a quick dip of the stick !
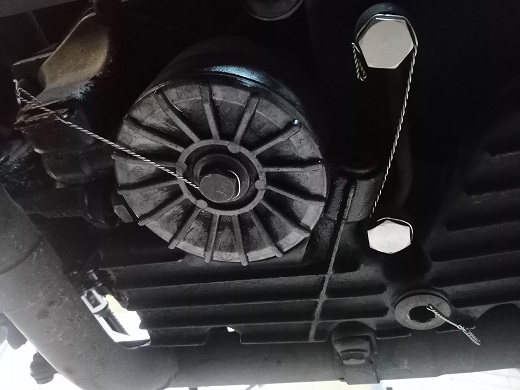
Then if like me you want to do the odd hill climb you have the joy of lock wiring the bolts !!